We recommend installing PowerToys via GitHub or Microsoft Store, but alternative install methods are also listed if you prefer using a package manager.
/cdn.vox-cdn.com/uploads/chorus_asset/file/19172871/powertoys_2019.jpg)
Assets
4Install with Windows executable file via GitHub
To install PowerToys using a Windows executable file:
- Visit the Microsoft PowerToys GitHub releases page.
- Select the Assets drop-down menu to display the files for the release.
- Select the
PowerToysSetup-0.##.#-x64.exefile to download the PowerToys executable installer. - Once downloaded, open the executable file and follow the installation prompts.
Requirements
- Windows 11 or Windows 10 v1903 (18362) or later.
- .NET Core 3.1.20 Desktop Runtime or a newer 3.1.x runtime. The installer will handle this if not present.
- x64 architecture currently supported. ARM support to become available at a later date.
To ensure that your machine meets these requirements, check your Windows version and build number by selecting ⊞ Win+R, then type winver and press OK. Or enter the ver command in Windows Command Prompt. You can update to the latest Windows version in the Windows Settings.
Alternative Install Methods
- Microsoft Store
- Windows Package Manager
- Community-driven install tools (Not officially supported)
Install with Microsoft Store
Install from the Microsoft Store's PowerToys page. You must be using the new Microsoft Store which will be available for both Windows 11 and Windows 10.
Install with Windows Package Manager
To install PowerToys using the Windows Package Manager, it is as simple as running the following command from the command line / PowerShell:
winget install Microsoft.PowerToys --source winget
Installer args
The installer executable accepts the Microsoft Standard Installer command-line options
Here are the common commands you may want:
Extracting out the MSI from the bundle:
Make sure you have Wix toolset installed. https://wixtoolset.org/releases/
This PowerShell example assumes the default install location for Wix toolset 3.11.2 and the PowerToys installer downloaded to the desktop.
cd $Env:WIX\"bin"

# dark.exe -x OUTPUT_FOLDER INSTALLER_PATH
.\dark.exe -x ${Env:\USERPROFILE}"\Desktop\extractedPath" ${Env:\USERPROFILE}"\Desktop\PowerToysSetup-0.53.0-x64.exe"
Fixes for uninstalling 0.51 and earlier builds issues
If you have an issue where the MSI is not accessible, you can download the installer, that corresponds with the installed version, via the PowerToys release page and then run the following command. You'll want to change the EXECUTABLE_INSTALLER_NAME to what the file name actually is.
In PowerShell, run .\EXECUTABLE_INSTALLER_NAME.exe --extract_msi and this will extract the MSI to your desktop.
Community-driven install tools
These community-driven alternative install methods are not officially supported and the PowerToys team does not update or manage these packages.
Install with Chocolatey
To install PowerToys using Chocolatey, run the following command from your command line / PowerShell:
choco install powertoys
To upgrade PowerToys, run:
choco upgrade powertoys
If you have issues when installing/upgrading, visit the PowerToys package on Chocolatey.org and follow the Chocolatey triage process.
Install with Scoop
To install PowerToys using Scoop, run the following command from the command line / PowerShell:
scoop bucket add extras
scoop install powertoys
To update PowerToys, run the following command from the command line / PowerShell:
scoop update powertoys
If you have issues when installing/updating, file an issue in the Scoop repo on GitHub.
Post Install
After successfully installing PowerToys, an overview window will display with introductory guidance on each of the available utilities.
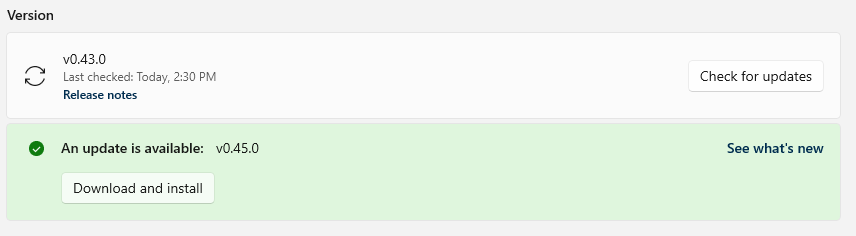
Updates
PowerToys uses an auto-updater that checks for new versions when the app is running. If enabled, a toast notification will appear when an update is available. Updates can also be checked for manually from the PowerToys Settings, under the General page.
No comments:
Post a Comment
Welcome... Leave your comment here... tell us how can we do better... Thank you...